Diamond Squaring Wire Saw Design: How It Achieves Low Kerf & Precision
Lizzy·Oct 17, 2025·4 MIN READ
Lizzy·Oct 17, 2025·4 MIN READ
We explain how a guided wire loop, flywheel, and tension module work together to cut stone with a wire speed of 20–35 m/s for low kerf loss.
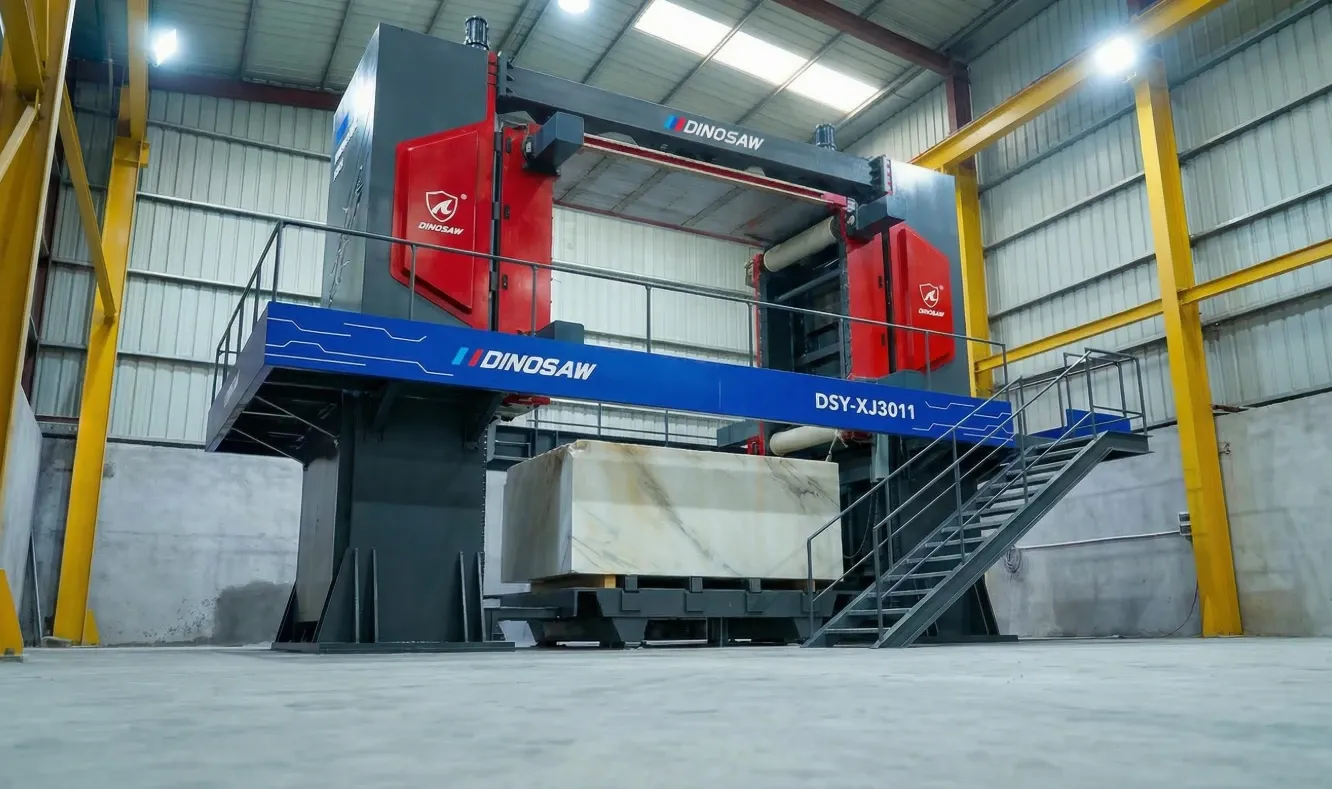
At its core, a diamond wire block squaring machine is a sophisticated guided wire loop system engineered for one thing: uncompromising precision. The architecture combines a drive motor and flywheel, a tensioning module, guide wheels, a cooling circuit, and a PLC control unit. This integrated system works in concert to run a continuous diamond-beaded wire through material, achieving clean, straight cuts with minimal stress—a fundamental advantage over high-impact methods.
This is how the machine delivers a manufacturer-reported squaring precision of ±1 mm, turning raw blocks into perfect workpieces. By understanding how its components work, you can unlock its full potential for processing not just stone, but also challenging materials like reinforced concrete and steel.
The engineering behind the Block Squaring Diamond Wire Saw focuses on distributing cutting forces evenly, which gives you a superior surface finish and preserves the material's integrity.
What Are the Core Technical Advantages for You?
The machine's architecture gives you several key advantages that directly translate to higher quality, better yield, and more reliable operations in your workshop.
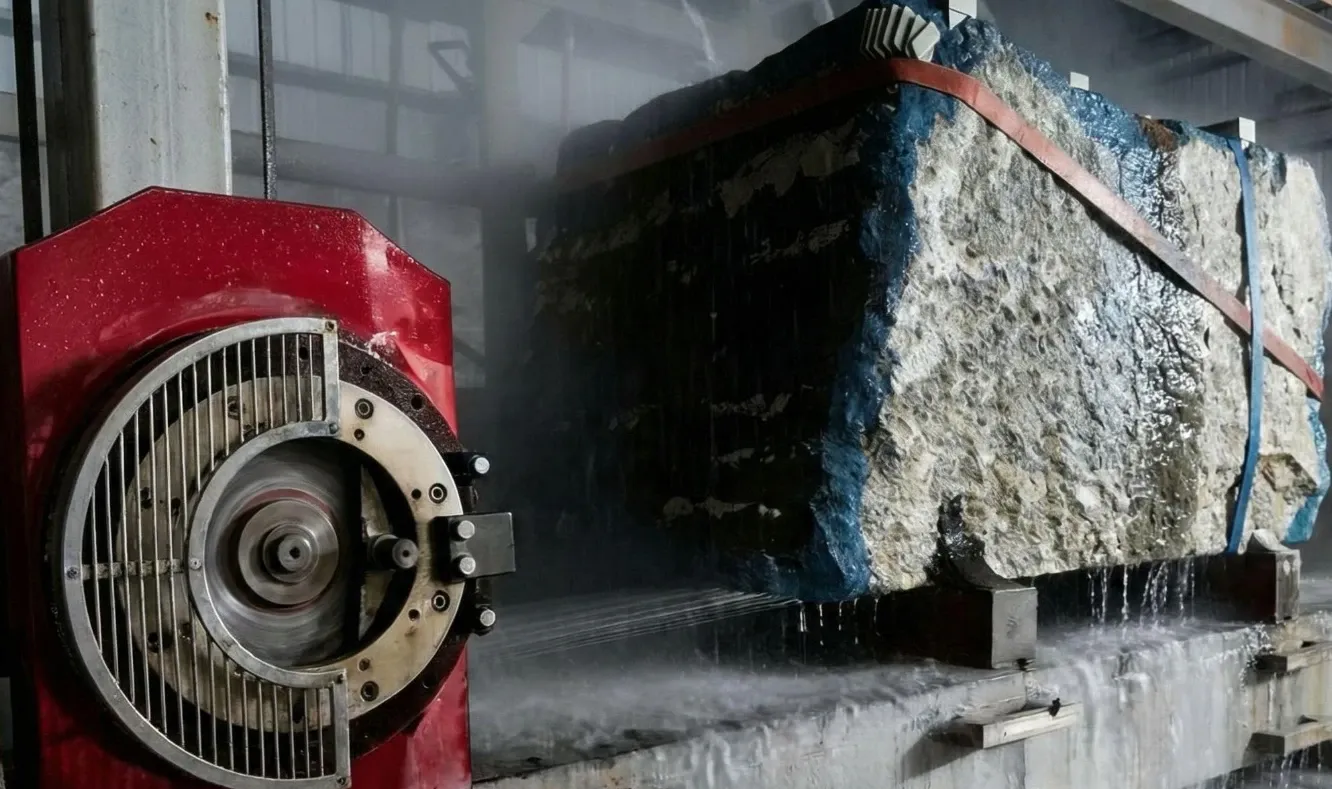
Minimal Kerf Loss: The thin diamond wire removes far less material per cut compared to a thick blade, directly increasing your block yield. This is a major ROI driver, especially with high-value materials.
Low Heat and Stress: The cutting action is abrasive, not concussive, so it generates less heat and induces minimal internal stress. This prevents micro-fractures in stone and avoids thermal distortion in metal.
Precise Guide Path: The system of guide wheels ensures the wire follows a perfectly straight path, which is critical for achieving that tight squareness tolerance.
Controllable Feed and Speed: You can fine-tune the wire speed (20-35 m/s) and feed rate via the PLC, optimizing the cut for different materials and achieving a consistent surface finish.
Automation and Repeatability: Once you set your parameters, the automated system ensures every cut is repeatable. This reduces the chance of operator error and guarantees consistent output.
How Does Diamond Wire Squaring Beat Traditional Methods?
Choosing the right machine for primary block dressing is a critical decision. Here’s how a diamond wire squaring saw stacks up against other common equipment you might have:
vs. a Bridge Saw: A bridge saw's large blade creates a much wider kerf, leading to more waste. The immense cutting pressure can also induce stress and micro-cracks, especially in fragile blocks. A wire saw’s gentle, low-stress process is far superior for these materials.
vs. a Multi-Blade Block Cutter: While multi-blade machines are efficient for mass-producing standard slabs, they lack the versatility for corrective work or handling oversized blocks. The wire squaring saw handles larger dimensions and is ideal for the initial dressing that prepares a block for slabbing.
vs. a Quarry Wire Saw: A quarry saw is a rugged, mobile machine designed for a harsh environment. By contrast, a block squaring saw is a stationary machine built for the workshop, with a more stable structure that delivers significantly higher precision (±1 mm, manufacturer-reported).
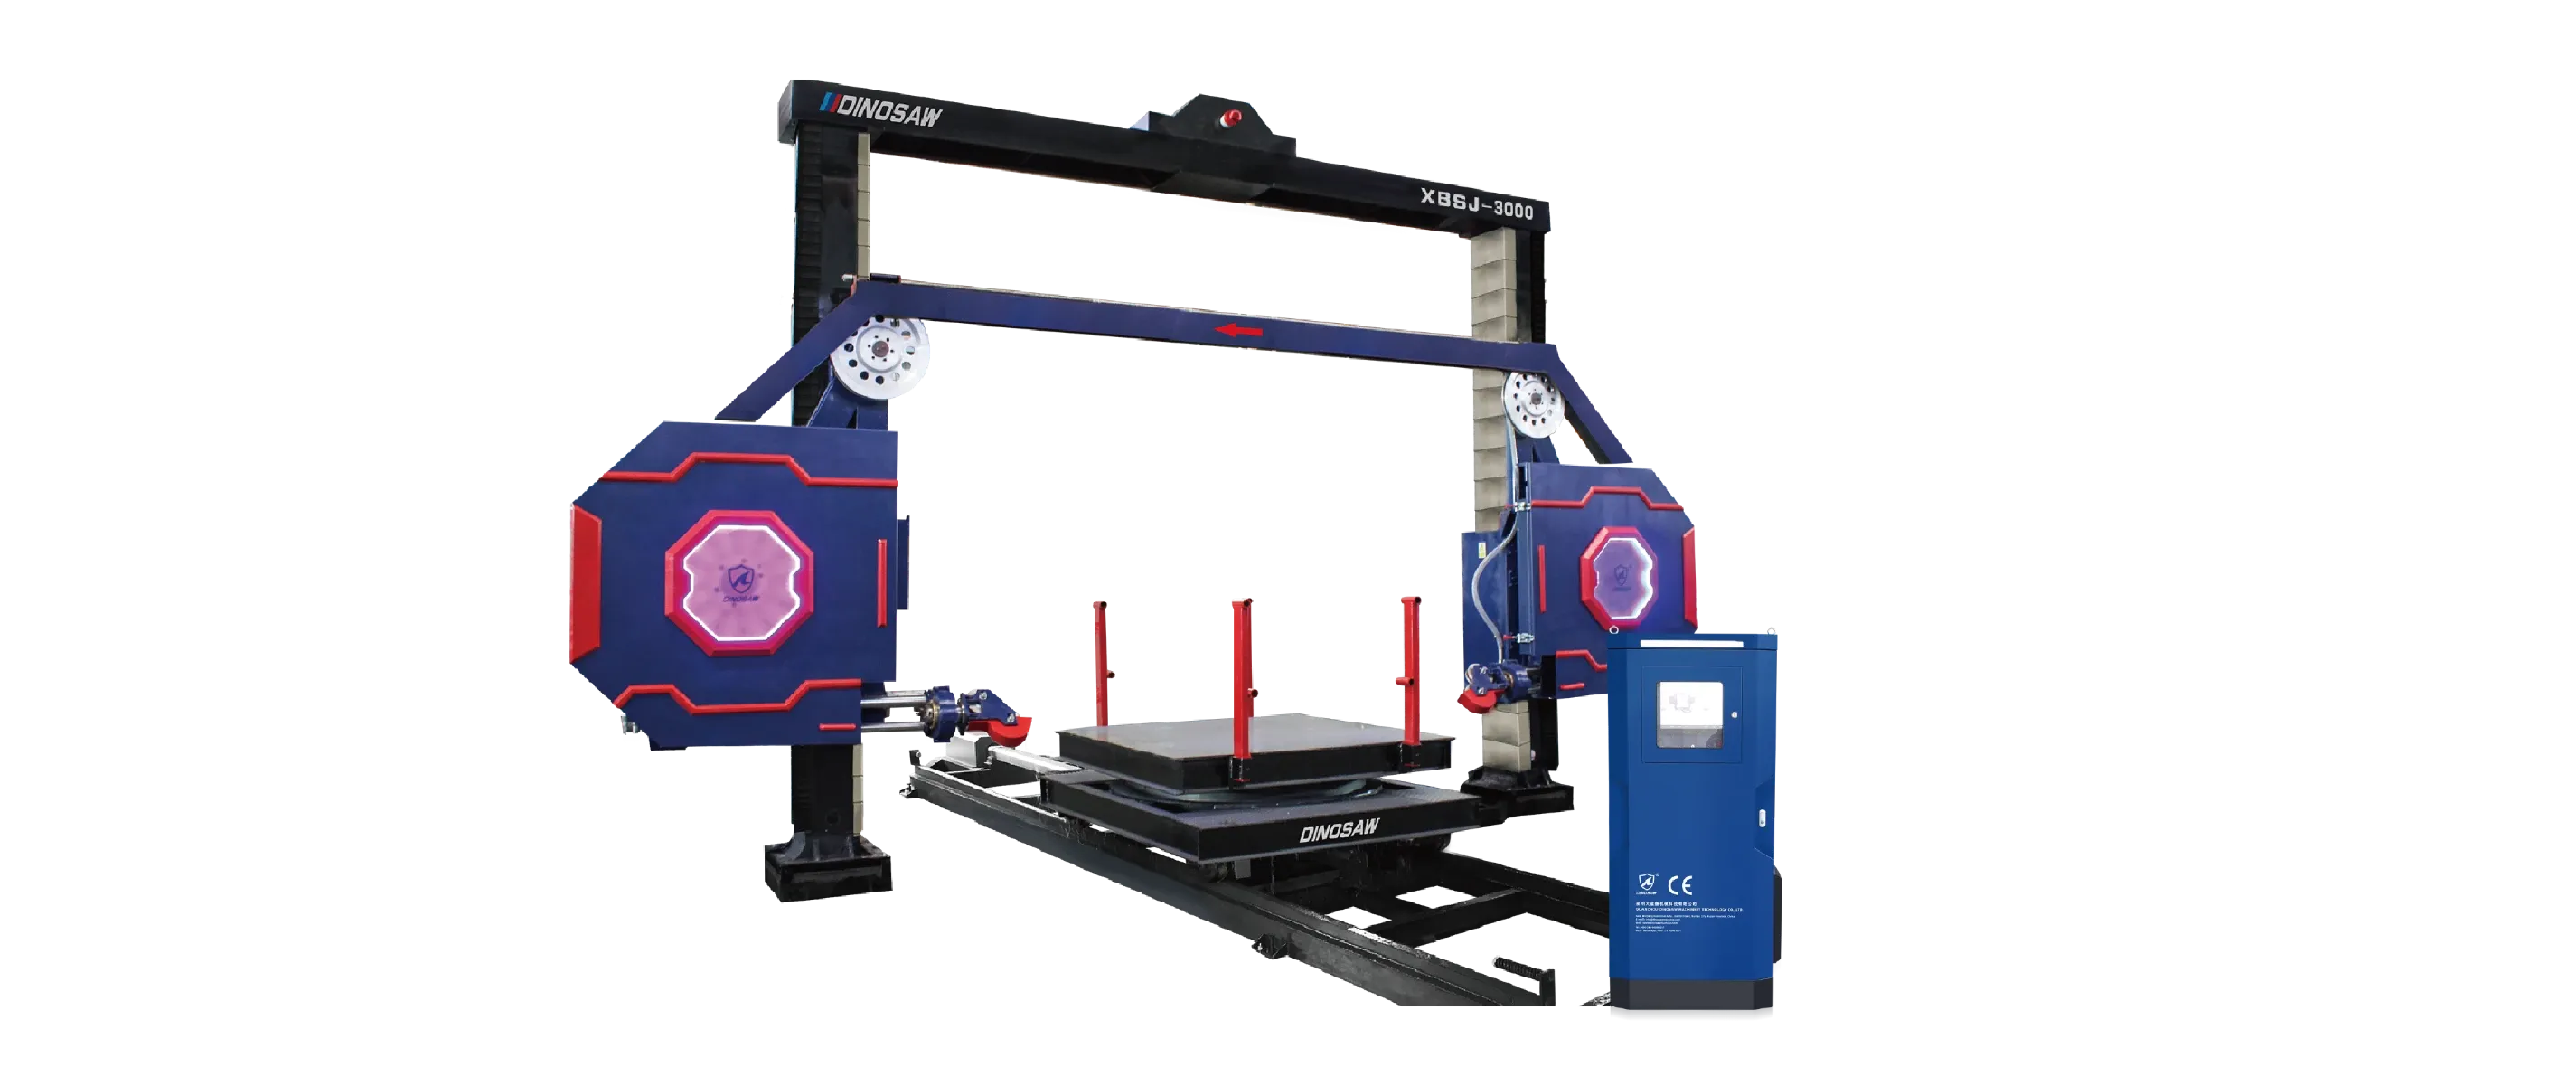
What Are the Key Components and Their Operating Ranges?
Your machine's performance is defined by the synergy of its core components. Understanding their roles and typical ranges is key to optimizing its use in your workshop.
Component
Function & Typical Range
Drive Motor
Powers the flywheel, driving the wire loop. Power is crucial for maintaining torque. Range is model-dependent and confirmed at order.
Flywheel
The main driving wheel that propels the diamond wire. Its diameter affects wire speed and stability. Range is model-dependent.
Tension Module
Maintains constant, correct tension on the wire to prevent vibration and ensure a straight cut. Range is model-dependent.
Diamond Wire
The cutting tool itself—a steel cable with diamond-impregnated beads. Typical Range: 8–11 mm Ø.
Feed Rate
The speed at which the wire is fed into the material. Must be balanced with wire speed. Typical Range: 200–600 mm/min.
Wire Speed
The velocity of the wire loop. You'll use higher speeds for harder materials. Typical Range: 20–35 m/s.
Cooling System
Sprays water onto the wire to cool it, flush away slurry, and prolong wire life. Range is model-dependent.
How Do You Troubleshoot Common Failures?
Proactive maintenance and quick troubleshooting are essential for maximizing your uptime. Here are common issues and how you can address them:
Symptom: Wire Vibration.Cause: Incorrect wire tension, worn guide wheel rubber, or misaligned wheels.
Fix: Adjust tension via the control panel. Inspect and replace worn rubber rings on guide wheels. Ensure all wheels are perfectly aligned. For more, see our guide on Understanding Diamond Wire Vibration.
Symptom: Uneven Wear on Wire Beads.Cause: Poor cooling, incorrect wire rotation, or debris on guide wheels.
Fix: Check that water jets are clear and aimed correctly. Verify the wire is rotating as it cuts. Clean your guide wheels daily.
Symptom: Cut Deviation.Cause: Low wire tension, an excessive feed rate, or misaligned positioning boxes.
Fix: Increase tension, reduce the feed rate, and perform a Positioning Box Calibration. In case of breakage, refer to our Wire Breakage Solutions.
Symptom: Slurry Clogging.Cause: Inadequate water flow or an overwhelmed filtration system.
Fix: Increase water flow. Clean or upgrade your slurry settling tanks and filters. Proper waste management is critical and must comply with local regulations, as advised by authorities like the Environmental Protection Agency (EPA).
Symptom: Limit or Inverter Alarms.Cause: Electrical faults, communication errors, or a physical obstruction.
Fix: Check error codes on the HMI. Inspect electrical connections and cables. Ensure the cutting path is clear. All electrical work should adhere to safety standards like NFPA 70.
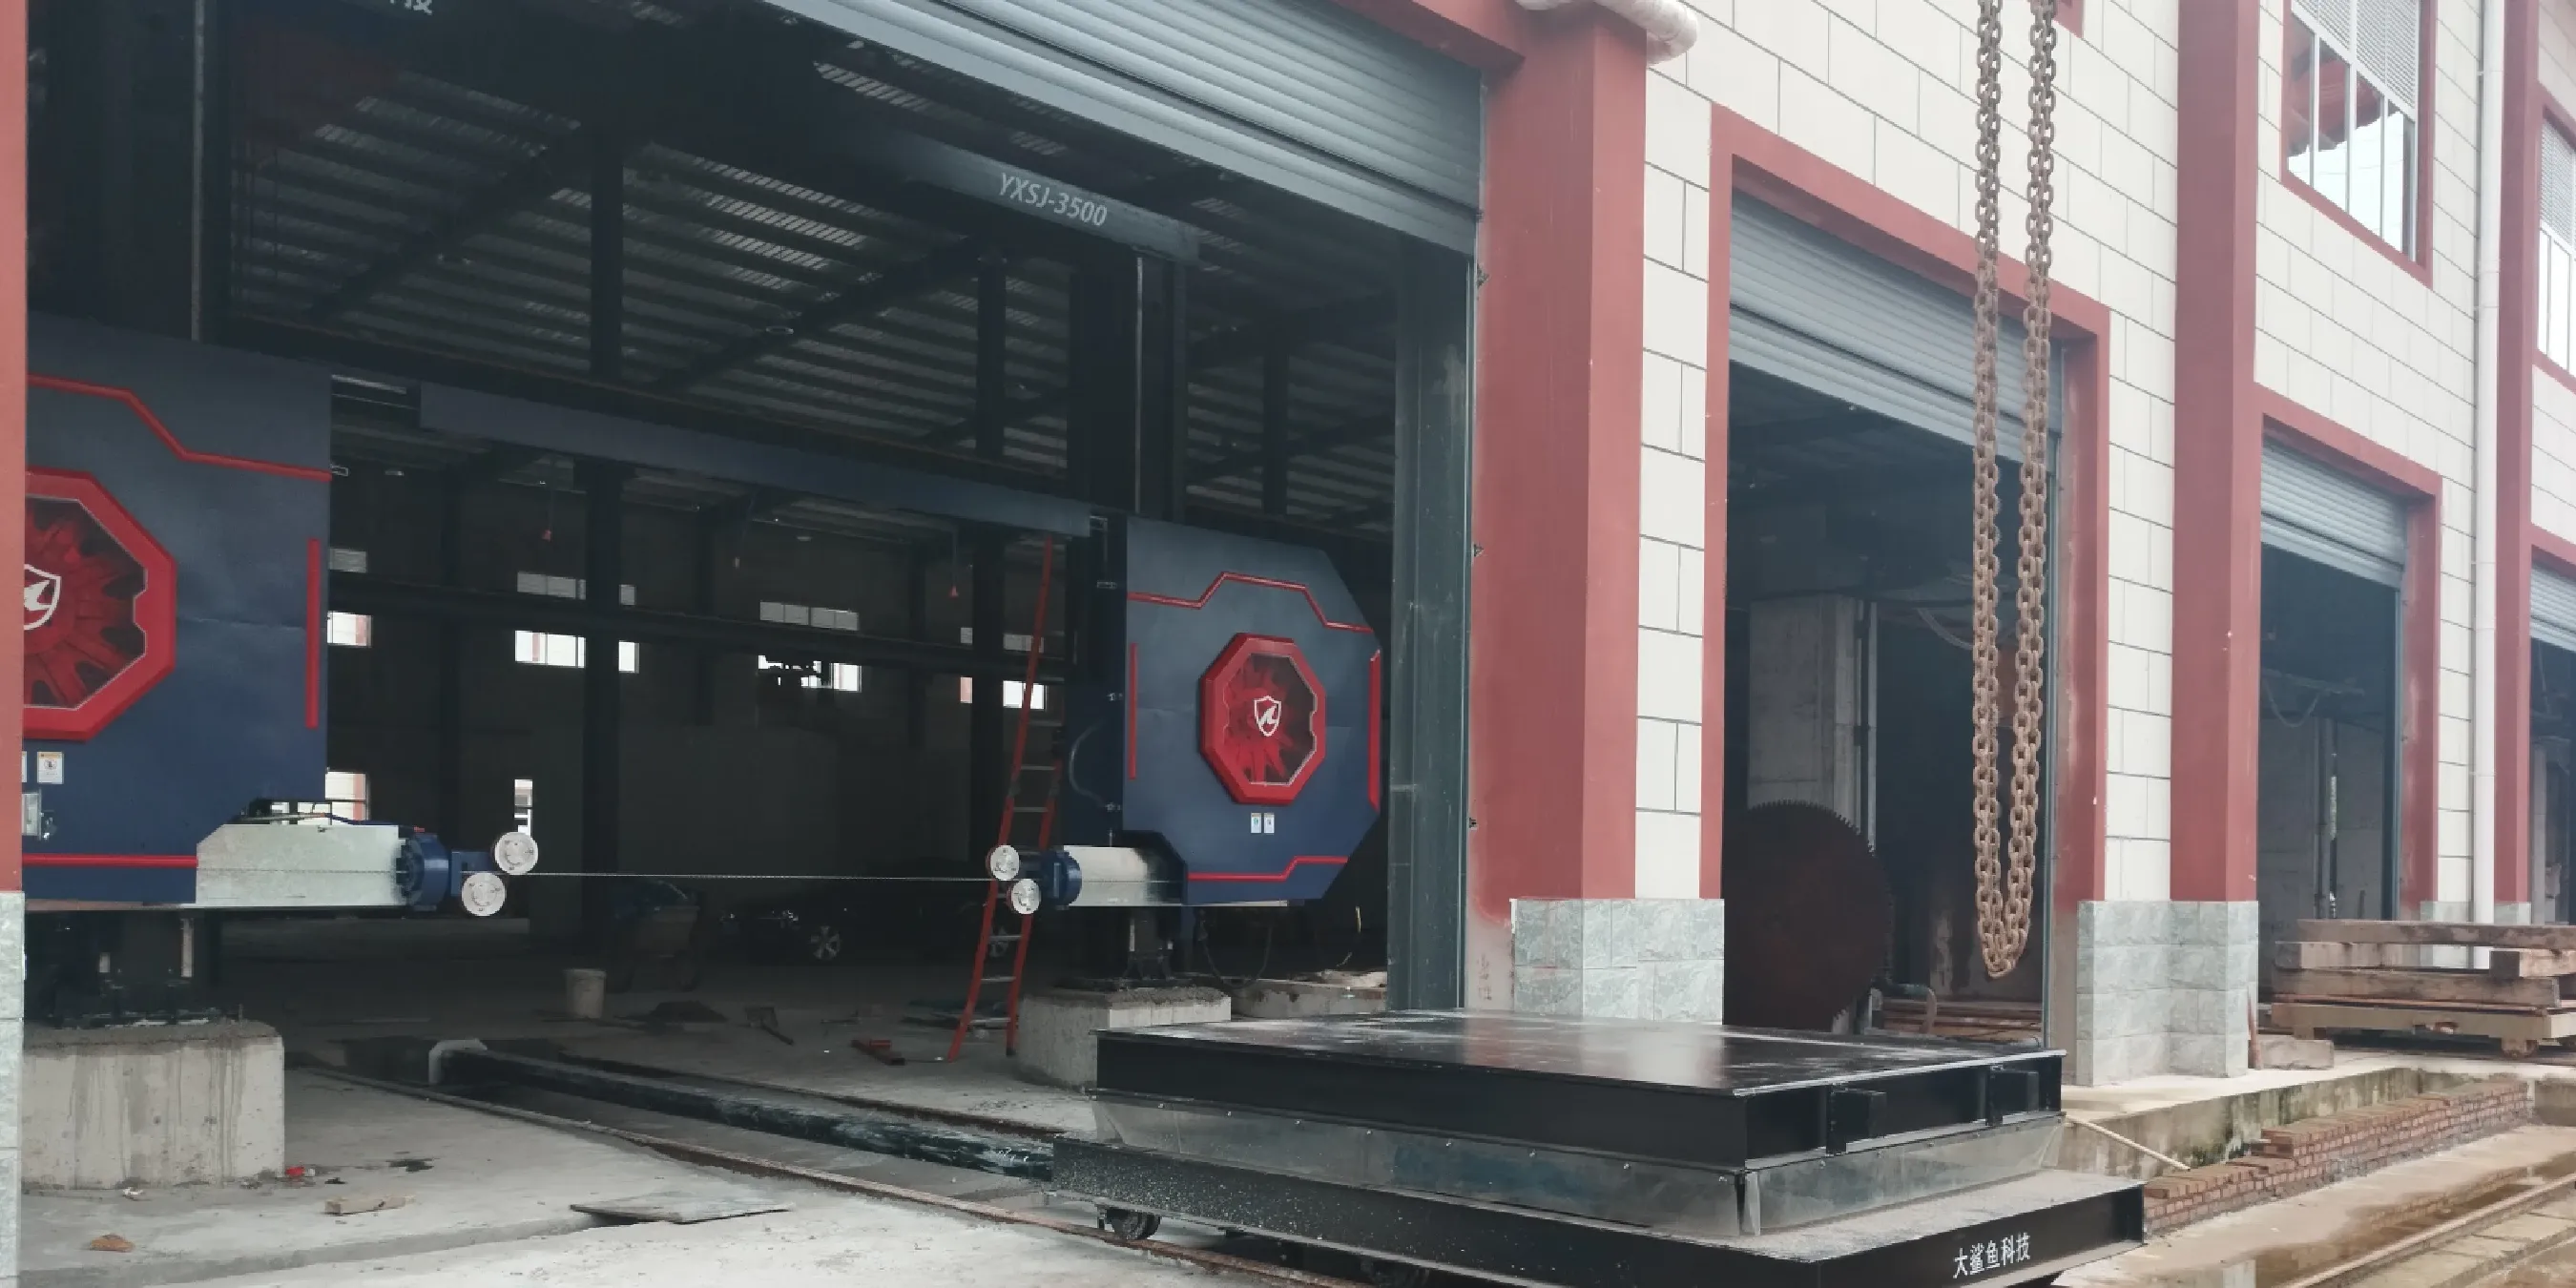
How Does It Integrate with Your Existing Workflow?
A modern block squaring saw is designed for smooth integration. You'll need to follow OSHA machine guarding and NFPA 70 electrical practices, and your wastewater handling should follow EPA guidance.
PLC and Drive Integration:The PLC can communicate with other factory systems. Protocol support (e.g., industrial Ethernet or OPC-UA–style interfaces) depends on the specific configuration and supplier options; confirm availability for your model.
Trolleys and Fixtures: The work bed is compatible with standard block trolleys and fixturing systems, allowing for easy loading and unloading. Custom trolleys can also be accommodated.
Water and Slurry Systems: The saw connects to standard industrial water supplies and channels slurry into a collection pit for processing by your facility's water recycling system.
How Do You Control Cut Deviation with Wire Tension & Guide Wheels?
Wire tension and guide wheel alignment are the two most critical factors in preventing cut deviation. Your tension system must apply consistent force to keep the wire taut; any drop allows the wire to flex, leading to a wavy cut. The guide wheels, lined with durable rubber, steer the wire. If their rubber is worn or they are misaligned, they can introduce vibration or cause the wire to drift, directly impacting your block's final squareness.
How Should You Balance Feed Rate and Wire Speed?
The relationship between cutting speed and wire wear is a delicate balance. A faster wire speed allows for a more aggressive cut, but pushing it too far can cause excessive bead wear or wire deflection. For a hard material like granite, you need high wire speed (e.g., 28-30 m/s) to cut effectively. For softer marble, a higher wire speed (e.g., 32-35 m/s) can improve finish quality, but you must monitor for any signs of the wire "skipping."
Why is Positioning Box Calibration So Important for Granite?
For a granite wire saw, where precision is paramount, the positioning boxes that house the final guide wheels must be perfectly calibrated. These boxes determine the final entry and exit angle of the wire. Calibration involves using lasers or precision levels to ensure the boxes are perfectly vertical and parallel. Even a tiny misalignment can be magnified over a large block, compromising the ±1 mm squareness tolerance.
What Are Good Starting Settings for Different Materials?
While optimal parameters are always material-specific, these conservative baseline settings provide a safe starting point for you. Always begin with a test cut.
Granite: Wire Ø 10–11 mm, Wire Speed 28–30 m/s.
Marble: Wire Ø 8–10 mm, Wire Speed 32–35 m/s.
Reinforced Concrete / Steel: Use a specialized wire. Start with a lower wire speed (e.g., 20-25 m/s) and a very slow cutting pass. Crucially, use stronger fixturing and significantly more cooling.
Remember to check trolley alignment before every major job to ensure the workpiece travels in a perfectly straight line relative to the wire.
Frequently Asked Questions
What flywheel diameter do you need for cutting stone?
The required flywheel diameter is model-dependent and determined by the machine's overall size and power, which is confirmed when you order. Generally, a larger flywheel provides greater momentum and stability, which helps ensure smooth wire motion. This is particularly important as a next step when you are cutting large, hard stone blocks like granite, as it contributes to a more consistent cut.
How does PLC integration (OPC UA/Profinet) help?
PLC integration helps by allowing your wire saw to communicate with a central factory management system. Depending on the specific configuration, support for standard industrial protocols may be available, which enables you to monitor real-time data such as wire speed, motor load, and alarms remotely. As a next step, you can leverage this data to implement predictive maintenance schedules, track overall productivity, and diagnose faults faster to reduce operational downtime. You should confirm protocol availability with the supplier for your specific model.
Which settings reduce cut deviation on granite?
To reduce cut deviation on granite, you should pair a high wire speed of 28–30 m/s with a moderate cutting aggressiveness, as pushing the machine too hard is a common cause of wire deflection. A thicker wire of 10-11mm also adds rigidity. If you still see deviation, your next step is to perform a test cut with a less aggressive pass while monitoring the cut's straightness before proceeding.
What wire diameter should you use for marble vs. concrete?
You should use different wire diameters, as the choice depends on the material's hardness and abrasiveness. For softer marble, a thinner wire of 8–10 mm Ø is effective and minimizes kerf loss. For tough reinforced concrete, a thicker and more durable wire of 10–11 mm Ø with specialized beads is necessary to handle the higher stress and prevent breakage.
How can you prevent slurry clogging and maintain low kerf loss?
You can prevent slurry clogging and maintain low kerf loss by ensuring two key parameters are correct. The first is ensuring adequate water flow to continuously flush the cut, and the second is using the thinnest appropriate wire diameter with correct tension to minimize waste. As a next step, you should regularly check that cooling jets are clean and properly aimed, as a loose or vibrating wire will widen the cut.
Can you really calibrate to ±1 mm with just positioning boxes and trolley alignment?
Yes, you can achieve a manufacturer-reported squareness of ±1 mm, but it depends entirely on precise machine calibration. The process requires two main steps: calibrating the positioning boxes to ensure the wire is perfectly vertical and ensuring the block trolley track is perfectly parallel to the wire's path. Any misalignment in these areas will directly compromise the final geometry, so regular checks are a critical next step for maintaining precision.


 中文
中文 Italian
 Türkçe
 Português
 Español
 Deutsch
 العربية
 Tiếng Việt
 Français
 Русский


 Oct 17, 20254 MIN READ


 English