Complete Guide to Manual Stone Cutting Machine Operation and Maintenance. Standard SOPs, Top Ten Troubleshooting Techniques, and Preventive Maintenance Schedule.
TL;DR: Key Maintenance Actions
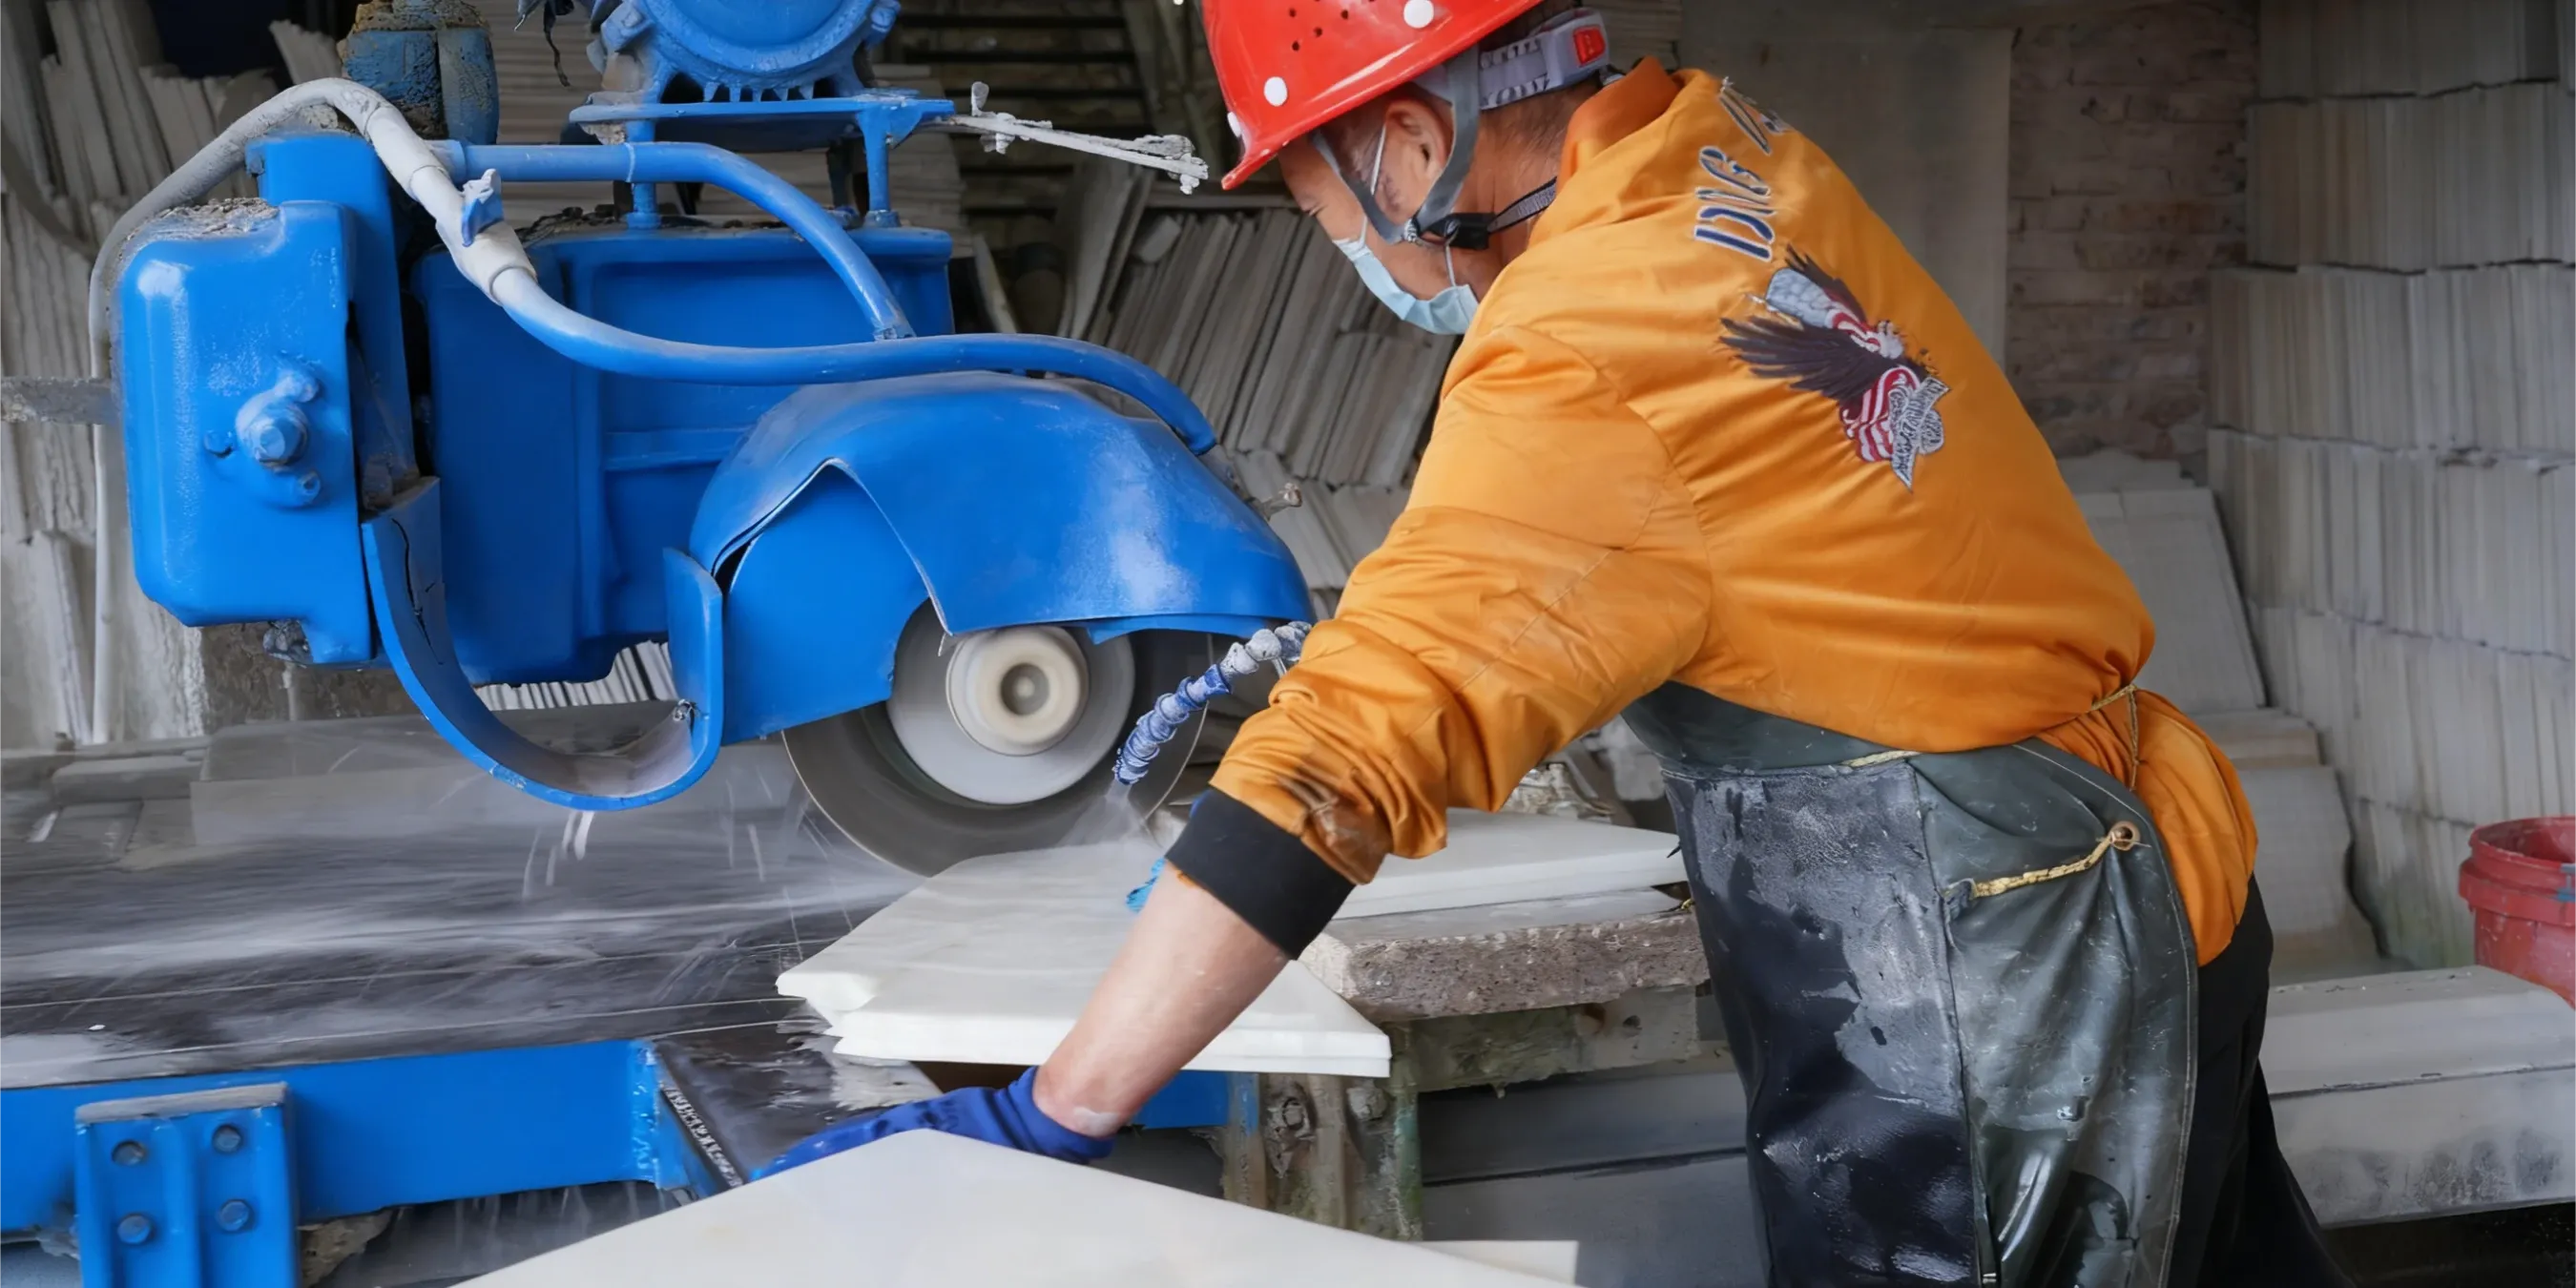
Daily Checks Are Non-Negotiable:Manual Stone Cutting Machine Before startup, always verify water flow (target 2–3 m³/h), inspect blade condition, and ensure all dust-proof covers and safety guards are secure.
Master 45° Calibration: For consistent chamfers, calibrate the angle with a digital protractor before every batch run. Lock the tilting head firmly and perform a test cut on a scrap piece to validate.
Weekly Lubrication is Key: Clean and lubricate the oil-immersed guide rails weekly to ensure smooth, vibration-free travel. This single step is critical for preventing angle deviation and improving cut quality.
Mitigate Chipping: The primary solution for edge chipping is to match the blade to the material, reduce the feed rate, and ensure the slab is securely clamped. A slow, steady cut with ample water is always better than a fast, risky one.
Safety First, Always: Full PPE is mandatory. This includes N95 respirators, safety glasses, hearing protection, and steel-toed boots. Dust suppression via the water system is essential for compliance with OSHA/NIOSH standards.
Manual Stone Cutting Machine Standard Operating Procedures (SOPs) & Training
Integrate these checklists into your daily workflow.
Pre-Startup Checklist
Area Safety: Ensure the area around the machine is clear of obstructions and personnel.
Guard & Cover Inspection: Verify all dust-proof covers and safety guards are correctly fitted and secured.
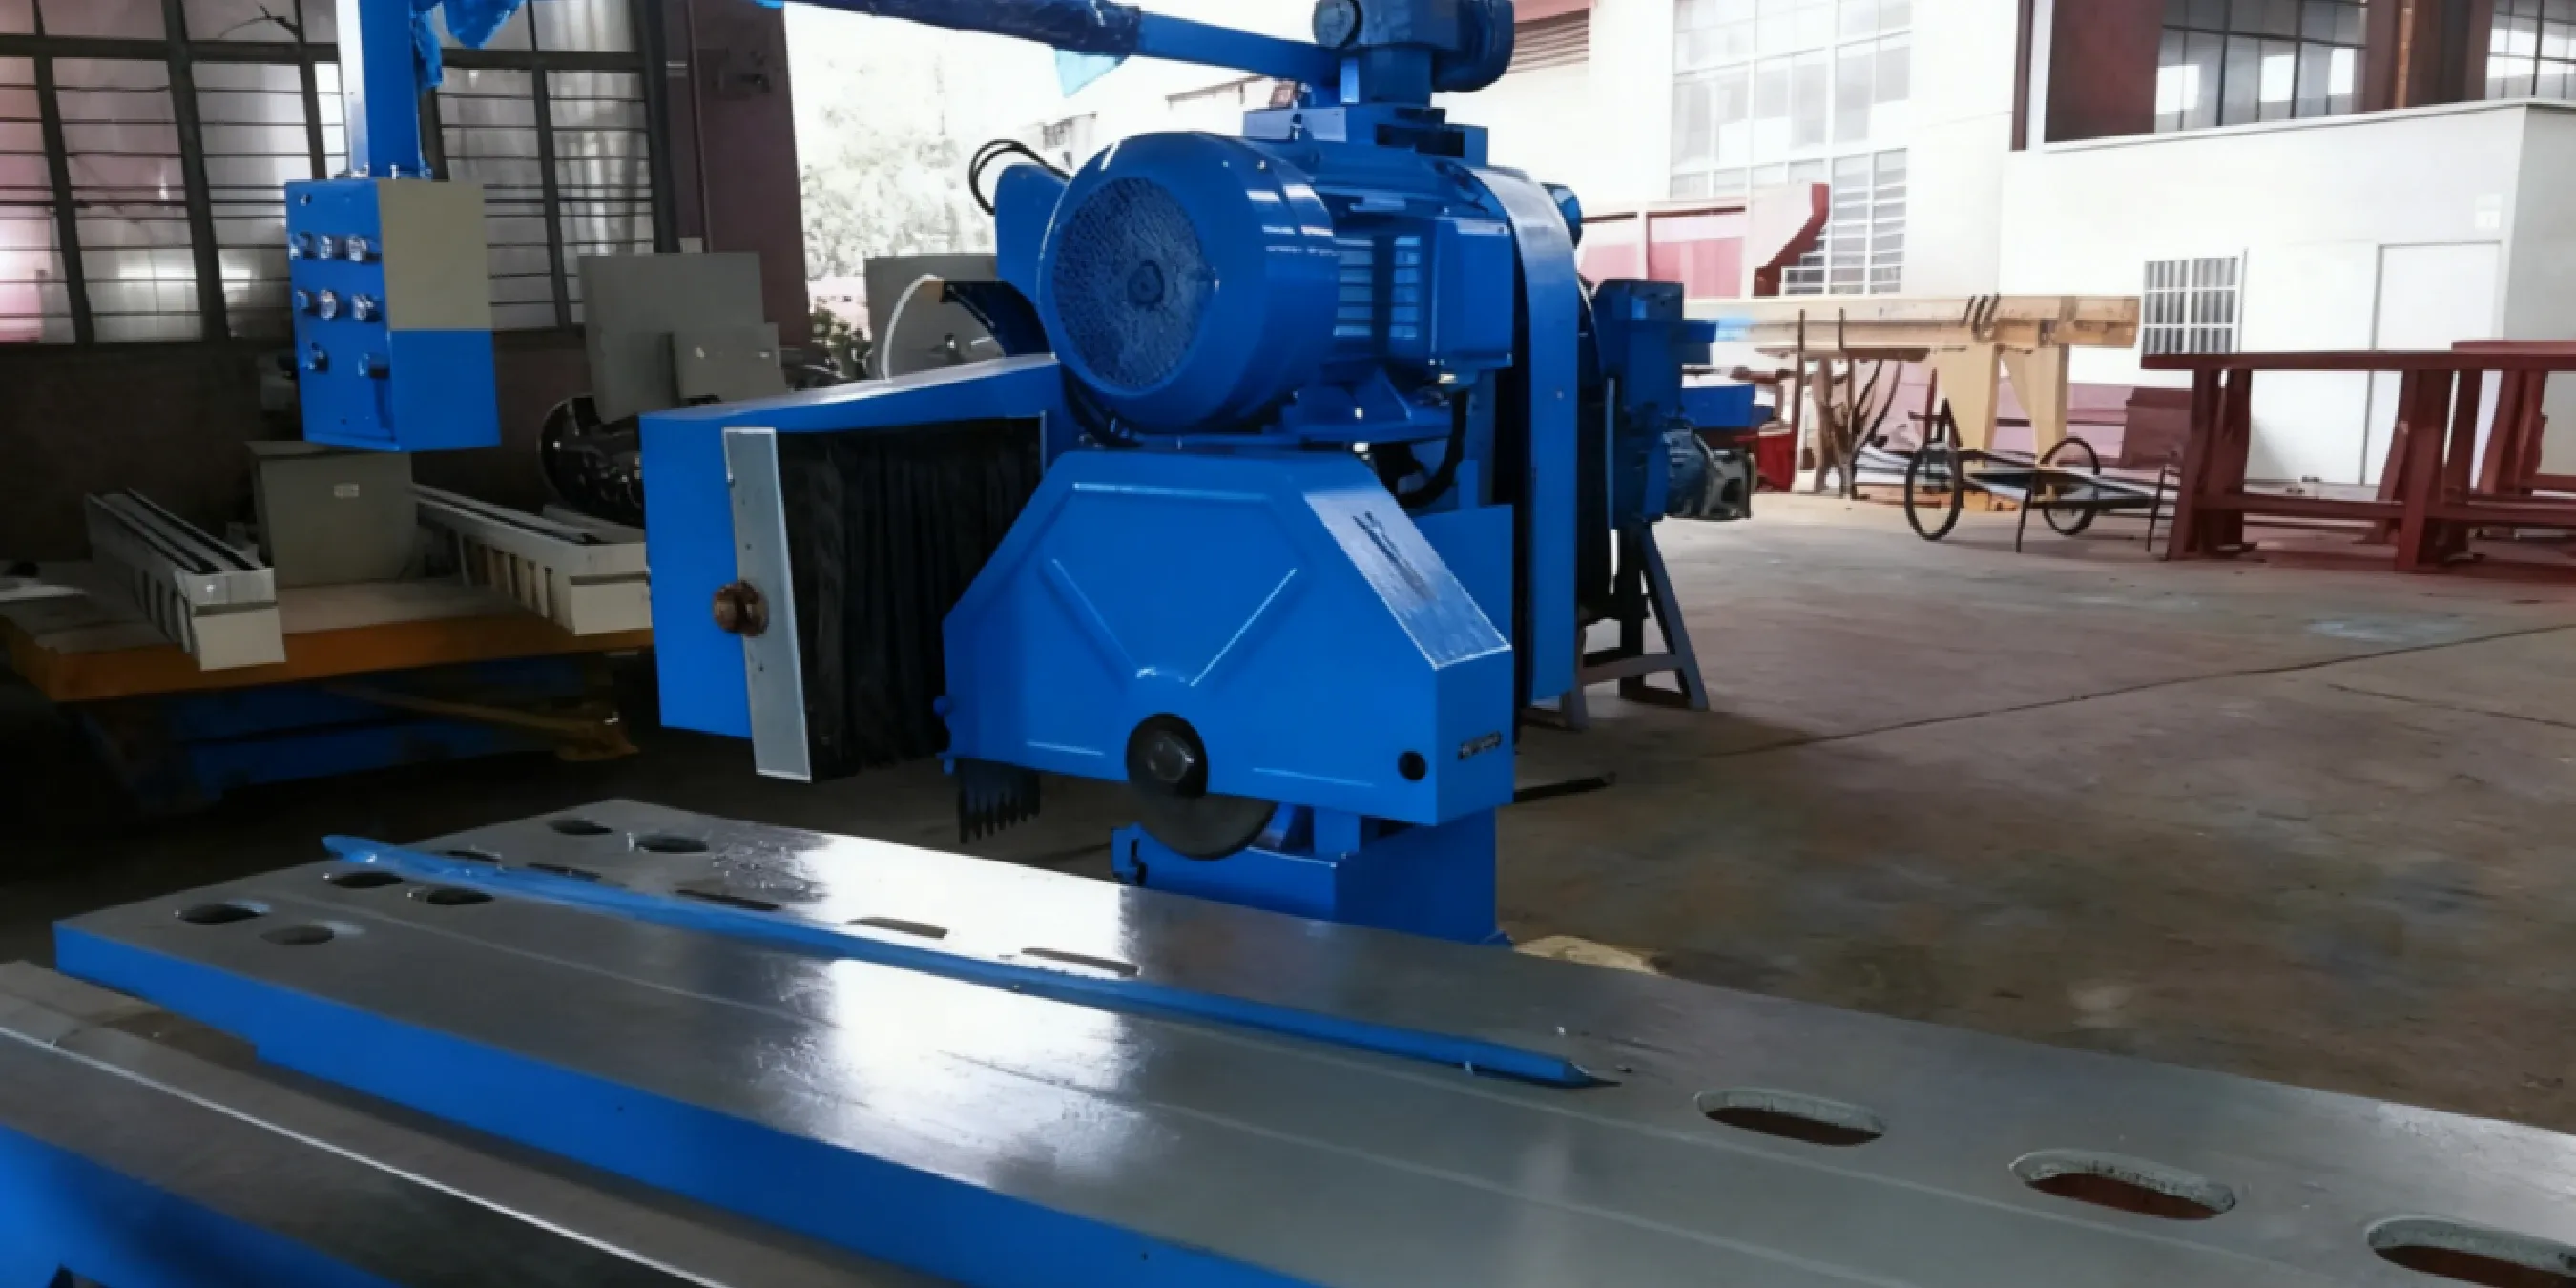
Blade Check: Inspect the blade (supports Φ350–Φ600 mm) for any visible damage, cracks, or excessive wear. Ensure it is tightened securely.
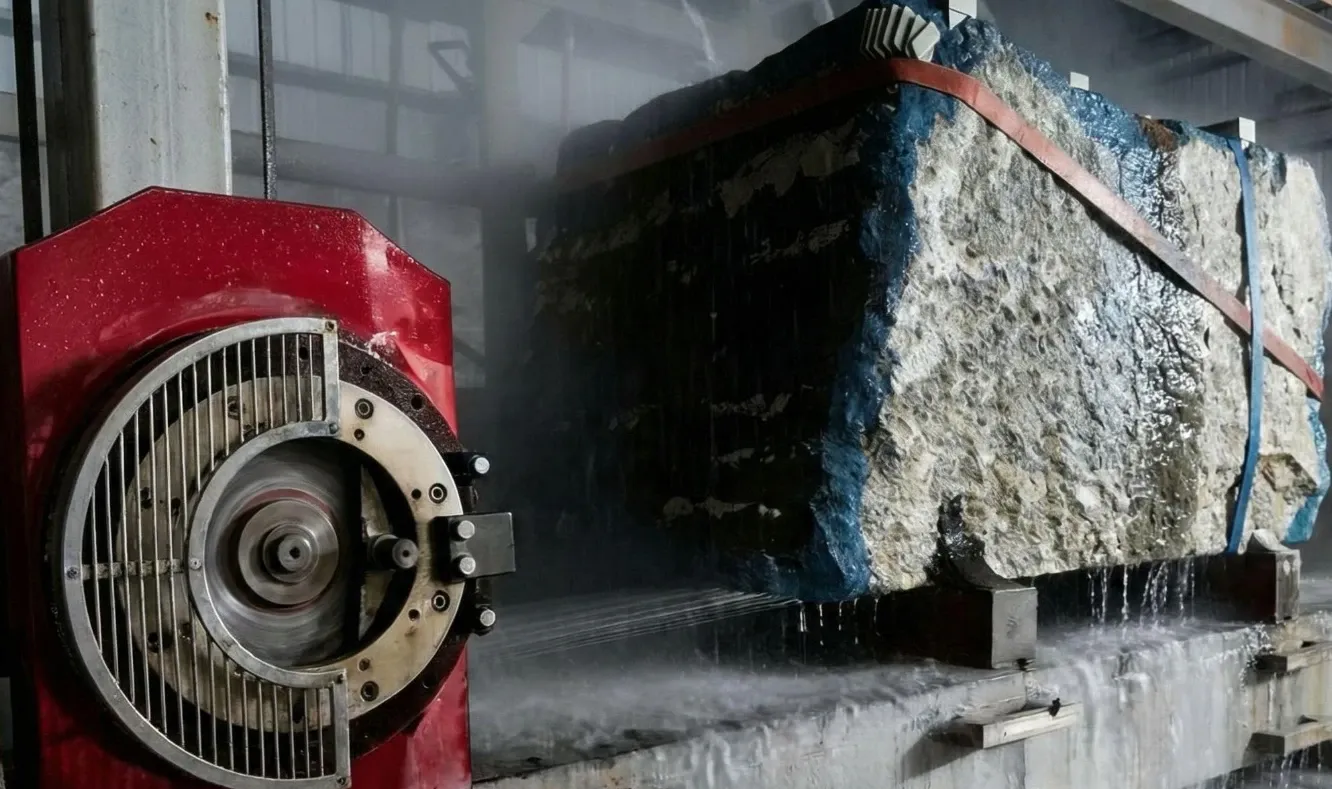
Water Cooling System: Turn on the water supply and confirm a steady flow rate of 2–3 m³/h. Check nozzles for blockages.
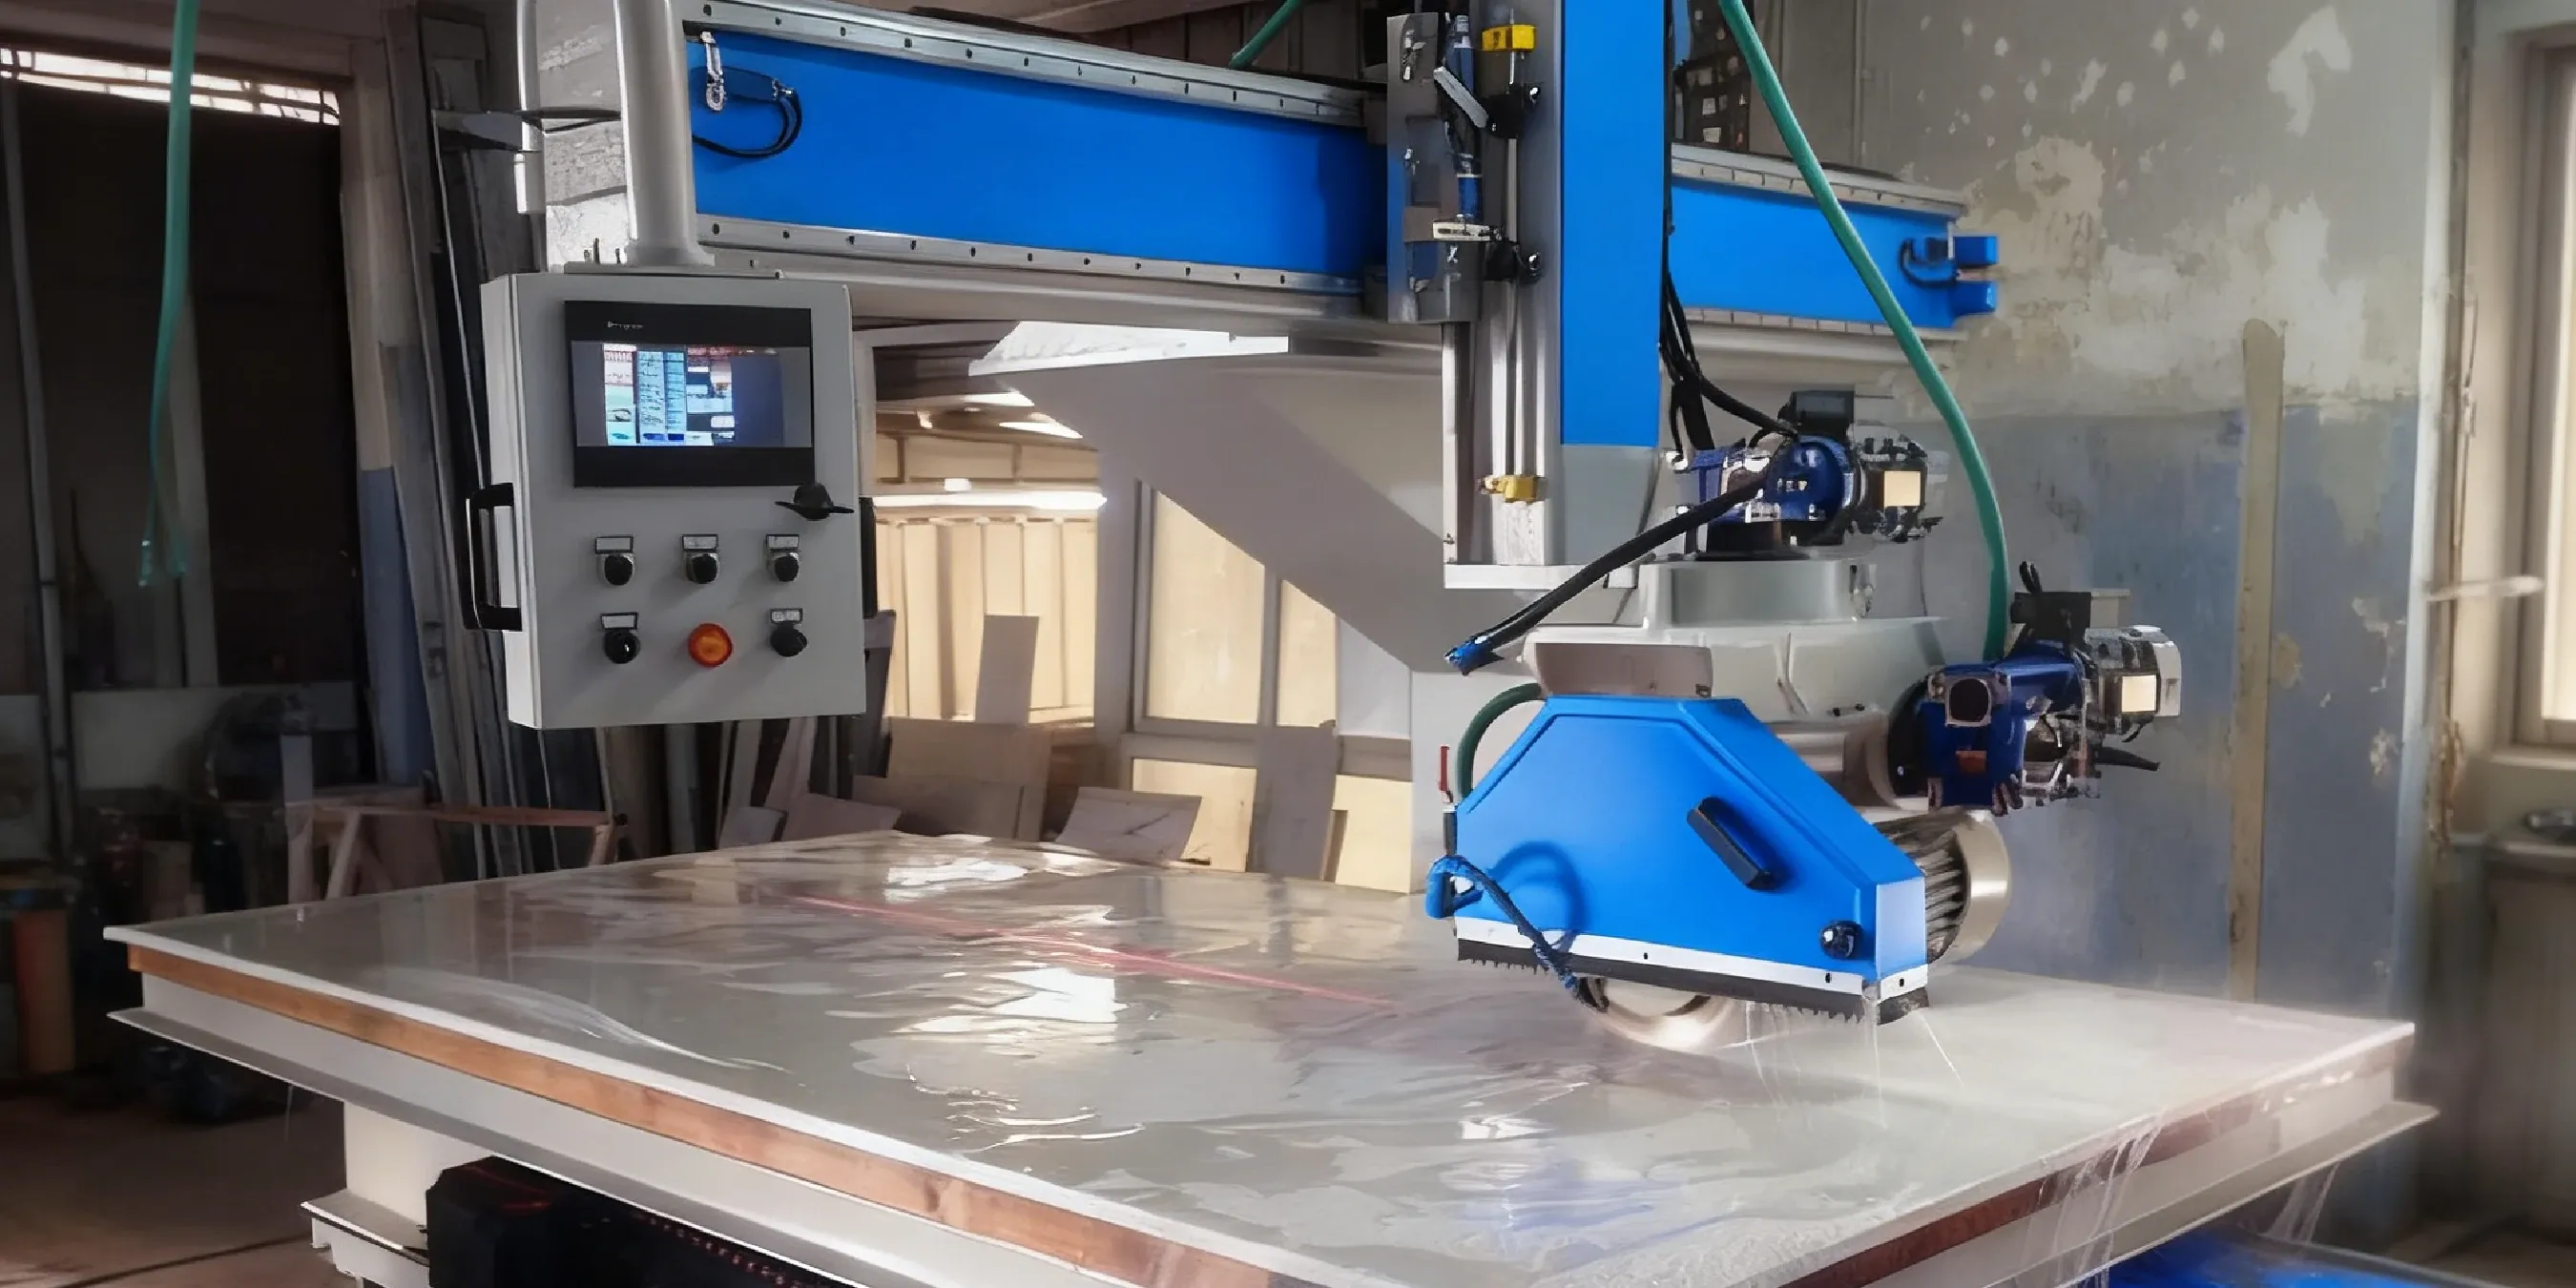
Electrical Check: Confirm the main power switch is accessible and that the three-phase (380V/440V) supply is active.
45-Degree Bevel Calibration Procedure
Loosen Lock: Carefully loosen the mechanical lock on the tilting head assembly.
Set Angle: Tilt the head to the 45° position. Place a calibrated digital protractor or precision angle gauge against the blade and worktable to verify the angle.
Secure Lock: Once the angle is confirmed, tighten the lock firmly. Do not overtighten.
Test Cut: Perform a test cut on a scrap piece of the same material and thickness. Measure the resulting chamfer to confirm accuracy before starting a batch.
Blade Changeover
Power Down: Disconnect the machine from the main power supply (lockout/tagout).
Remove Guards: Take off the blade guard to access the spindle.
Loosen Arbor Nut: Using the provided tools, loosen and remove the arbor nut and flange.
Install New Blade: Mount the new blade, ensuring the direction of rotation arrow matches the machine's spindle direction. Reinstall the flange and tighten the arbor nut securely.
Reassemble: Replace the blade guard before reconnecting power.
Top 10 Issues Troubleshooting Flow
Use this structured approach to diagnose and resolve common issues with your manual stone edge cutter.
Edge Chipping
Symptom: Small, irregular fractures along the cut edge of granite, marble, or quartz.
Replace with a sharp, fine-grit blade suited for the material.
Reduce the operator-controlled feed rate.
Ensure the slab is fully supported on the worktable (2700x800 / 3000x800 mm) and securely clamped.
Increase water flow to 2–3 m³/h to clear slurry effectively.
Prevention: Regularly inspect blades and always perform a test cut.
Inconsistent Chamfer Angle
Symptom: The 45° bevel is not uniform across the length of the cut.
Cause: Loose angle lock, debris on the oil-immersed guide rails, or wear in the tilting mechanism.
Resolution: Follow the 45-degree bevel calibration procedure. Clean the guide rails and re-lubricate. Check the tilting mechanism for play and tighten any loose components.
Prevention: Make calibration and rail cleaning part of the pre-batch routine.
Blade Overheating
Symptom: Blade turns blue, burn marks appear on the stone, or a burning smell is present.
Cause: Insufficient water flow, feed rate is too fast for the material, or using the wrong blade type.
Resolution:
Increase water flow to the recommended 2–3 m³/h.
Slow down the operator-controlled feed rate.
Switch to a blade with the proper grit and bond for the material.
For thick or very hard stone, use a multi-pass cutting strategy.
Prevention: Check water flow and nozzles as part of the daily pre-startup checklist.
Angle Drift During Long Cuts
Symptom: The bevel angle shifts along the length of a long cut, resulting in an inconsistent chamfer.
Cause: The tilting head lock was not fully tightened, or there is contamination on the guide rails.
Resolution:
Re-tighten the angle lock firmly.
Clean and re-lubricate the guide rails to ensure smooth travel.
Perform mid-batch spot checks on long production runs.
Prevention: Make pre-batch calibration and weekly guide rail lubrication a mandatory part of your workflow.
Poor Edge Finish
Symptom: The cut edge feels rough or shows signs of micro-chipping.
Cause: Blade is dull, feed rate is excessive, or the slab is vibrating.
Resolution:
Replace the blade with a new, sharp one.
Reduce the feed rate to allow the blade to cut cleanly.
Ensure the workpiece is fully clamped to prevent any movement.
Always validate settings on a scrap piece first.
Prevention: Adhere to a regular blade inspection and replacement schedule.
Vibration or Chatter
Symptom: A rhythmic noise during cutting, leaving wavy "chatter" marks on the cut surface.
Cause: Insufficient workpiece support, loose clamps, or an uneven worktable.
Resolution:
Re-level the worktable.
Tighten all clamps holding the slab.
Add support pads under any unsupported sections of the slab.
Slow the feed rate.
Prevention: Implement a fixturing checklist to be completed before starting any batch.
Inadequate Water Flow
Symptom: Visible dust during cutting or an overheated blade.
Cause: Clogged nozzles, kinked hoses, or low water pressure from the source.
Resolution:
Clean the spray nozzles with a small pin or compressed air.
Check and fix any kinks or blockages in the water hoses.
Verify the water supply is providing the required 2–3 m³/h flow rate.
Prevention: Make a nozzle check part of the daily startup procedure.
Worktable Misalignment
Symptom: Cuts are not perfectly square or plumb.
Cause: The worktable is not perfectly level, or the support pads are worn.
Resolution:
Use a precision level to re-level the worktable.
Replace any worn or compressed support pads.
Perform a test cut on a square piece and measure the results.
Prevention: Perform a monthly table alignment check.
Power Anomalies
Symptom: The motor trips the circuit breaker or runs at an inconsistent speed.
Cause: Unstable three-phase power supply or incorrect voltage.
Resolution:
Verify that your workshop's power matches the required configurable regional voltage (e.g., 380V/440V).
Check the circuit breakers and electrical grounding.
Engage a qualified electrician to diagnose power supply issues.
Prevention: Maintain a log of regular electrical inspections.
Guide Rail Wear
Symptom: "Stick-slip" motion instead of smooth travel, or a decrease in angle repeatability.
Cause: Lack of lubrication or contamination of the rails with abrasive slurry.
Resolution:
Thoroughly clean the guide rails.
Apply the recommended oil lubrication.
Replace any worn components if play is detected.
Ensure protective dust covers are in good condition and properly fitted.
Prevention: Adhere strictly to the weekly lubrication schedule and keep dust-proof covers maintained.
Manual Stone Cutting Machine Preventive Maintenance Schedule
A disciplined maintenance schedule is the best way to ensure consistent performance and longevity.
Frequency
Tasks
Daily
Inspect blade for damage.
Check water cooling flow (2–3 m³/h) and nozzles.
Verify safety guards are in place.
Clean slurry and debris from the worktable and surrounding area.
Weekly
Clean and lubricate oil-immersed guide rails.
Inspect drive belts for tension and wear.
Check electrical connections for tightness.
Monthly
Inspect the main motor (7.5–18.5 kW) for unusual noise or vibration.
Flush the entire water cooling system to remove sediment.
Check the cast iron frame for any signs of stress or damage.
Annually
Schedule a professional service and inspection, as specified by your Service Level Agreement (SLA).
Complete inspection of all mechanical and electrical systems.
Safety and Compliance: A Non-Negotiable Checklist
Operating heavy machinery requires an unwavering commitment to safety. Your manual industrial stone cutting machine O&M plan must prioritize operator well-being and regulatory compliance.
Personal Protective Equipment (PPE): PPE is the operator's last line of defense and must be worn at all times. This includes:
N95/FFP2 Respirator: To protect against respirable crystalline silica.
Safety Glasses/Goggles: To protect eyes from flying debris.
Hearing Protection: To guard against noise exposure.
Steel-Toed Boots & Cut-Resistant Gloves: For physical protection.
Dust & Silica Compliance: Stone cutting generates respirable crystalline silica, a hazardous substance. According to OSHA 29 CFR 1926.1153, employers must limit worker exposure. The machine's integrated water cooling system is the primary engineering control. It must be active during all cutting operations. The , highlighting the importance of consistent dust suppression.
Electrical Safety: The machine's three-phase (380V/440V) electrical system must be installed and maintained by a qualified electrician in accordance with local codes. Implement a strict lockout/tagout procedure for all maintenance.
Certifications: DINOSAW machines are built in facilities adhering to ISO 9001:2015 Quality management systems, ensuring a high standard of manufacturing quality and traceability, and are available with CE certification upon request.
Frequently Asked Questions (FAQ)
What is the 45-degree bevel calibration procedure?
Loosen the head lock, tilt to position, verify the angle with a digital protractor, re-tighten the lock, and perform a test cut.
Context: This SOP ensures that every piece in a batch has a consistent chamfer. It must be done before starting any new batch of bevel cuts to compensate for any minor shifts.
Boundary: The machine's mechanical stops provide high repeatability, but accuracy still depends on the initial calibration. Do not rely on visual checks alone.
Next Step: Watch the calibration tutorial video on the product page.
How do I fix edge chipping on slate or granite?
Reduce feed rate, use a fine-grit diamond blade, ensure the slab is securely clamped, and maximize water flow.
Context: Chipping is caused by mechanical stress. A slower, smoother cut with a sharp, appropriate blade and ample cooling/lubrication from the water minimizes this stress.
Boundary: For extremely brittle or thin materials, even perfect settings may not eliminate all micro-chipping. In these rare cases, a Automatic Bridge Saw (CNC/PLC) may be a better tool.
Next Step: Contact DINOSAW support for a blade recommendation specific to your material.
What water cooling flow rate should I use?
Target a continuous flow of 2–3 m³/h. Increase flow for hard materials like quartzite or when generating significant dust.
Context: Water serves two purposes: cooling the blade to prevent thermal damage and suppressing hazardous silica dust. Both are critical for performance and safety.
Boundary: More water is generally better, but ensure it is directed at the blade-stone interface and that your drainage/recycling system can handle the volume.
Next Step: Check the water system nozzles daily for blockages as part of your startup SOP.
What PPE is required for OSHA/NIOSH compliance?
Mandatory PPE includes an N95 respirator, safety glasses, hearing protection, and steel-toed boots.
Context: These items directly address the main hazards: airborne silica dust, flying debris, and high noise levels. Compliance isn't just about avoiding fines; it's about protecting your team's long-term health.
Boundary: PPE is the final layer of protection. It must be used in conjunction with the machine's primary engineering control: the water dust suppression system.
Next Step: Conduct a hazard assessment for your specific workshop to ensure all local safety requirements are met.
How do I set the feed rate for thin vs. thick slabs?
Use a gentle, slower feed rate for thin slabs to prevent stress, and a slow feed rate with multiple shallow passes for thick slabs.
Context:The operator manually controls the feed rate, allowing real-time adjustment based on material feedback. Thin slabs are prone to cracking with aggressive cuts, while thick slabs require a gradual reduction of material.
Boundary:Never attempt to cut through a thick slab in a single pass. Always start with a slow feed rate and increase only if the cut is stable and clean.
Next Step:Refer to the SOPs in our guides or request a parameter consultation.
Which preventive maintenance checks are most critical for minimizing downtime?
Daily water nozzle checks, weekly guide rail lubrication, and monthly worktable alignment checks are the most critical.
Context:These three areas are directly linked to the most common failures: blade overheating (water), angle deviation (rails), and dimensional inaccuracy (alignment).
Benefits:A few minutes spent on these checks each day/week prevents hours of downtime, wasted material, and costly repairs.
Next Step:Implement our recommended preventive maintenance schedule in your workshop.


 中文
中文 Italian
 Türkçe
 Português
 Español
 Deutsch
 العربية
 Tiếng Việt
 Français
 Русский


 Nov 7, 20258 MIN READ
 English